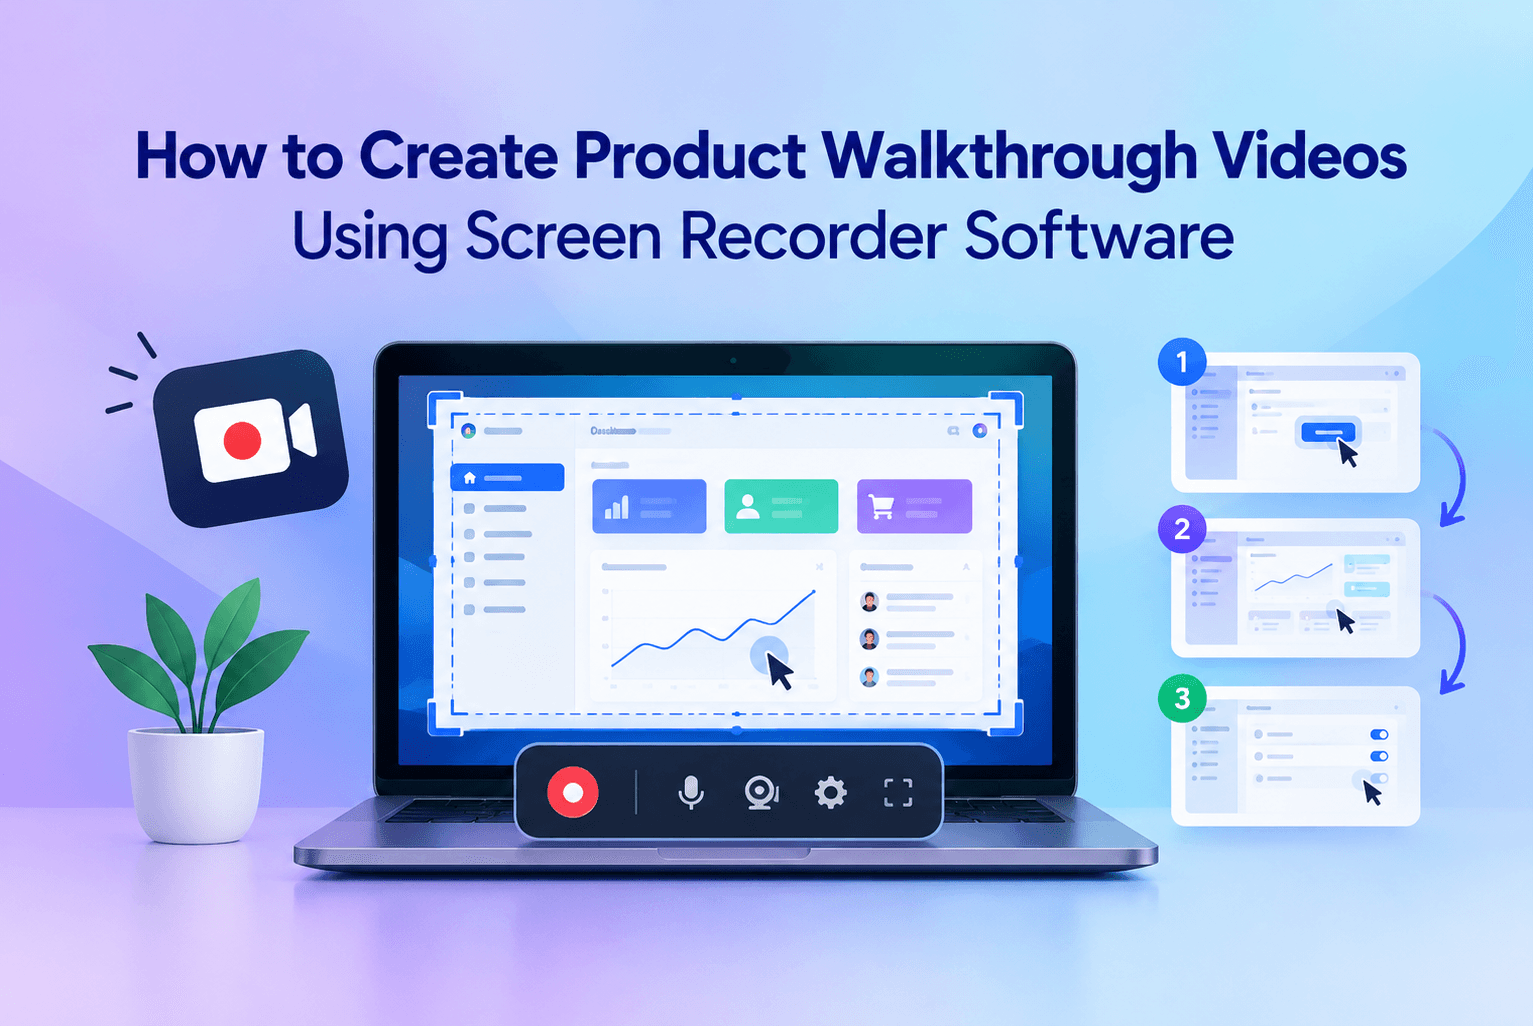
A product walkthrough video is one of the most effective ways to show customers, prospects, employees, or new users how a software product works. Instead of relying only on screenshots or lengthy written instructions, a walkthrough lets viewers see the actual interface, follow the workflow, and understand how a feature solves a specific problem.
With the right Screen Recorder Software, creating these videos does not require a professional studio or complex production setup. You can record the application interface, capture system audio and microphone narration, include a webcam when appropriate, and edit the recording before sharing it.
The linked Screen Recorder Software page highlights capabilities such as full-screen and selected-region recording, webcam and audio capture, multi-screen recording, scheduled recording, and editing tools.
Whether you are creating a customer onboarding video, feature demonstration, sales presentation, or software tutorial, the following process can help you create a professional product walkthrough.
What Is a Product Walkthrough Video?
A product walkthrough video is a recorded, usually narrated demonstration that guides viewers through a particular product, feature, or workflow. Rather than showing every function available in an application, an effective walkthrough focuses on one specific task or outcome.
For example, instead of creating a 15-minute video covering every menu in a project-management application, you could create a three-minute walkthrough explaining how to create a project, assign tasks, and monitor its progress.
This approach makes the content easier to understand and keeps the viewer focused on the intended objective. Recent guidance on product walkthroughs similarly emphasizes choosing one audience, one task, and one outcome rather than attempting to demonstrate the entire product.
Why Use Screen Recorder Software for Product Walkthroughs?
Traditional product demonstrations may require cameras, lighting, microphones, video editors, and considerable production time. Screen Recorder Software simplifies much of this process because the product interface itself becomes the primary visual content.
A screen recorder can be particularly useful for:
- Software tutorials
- Product feature demonstrations
- Customer onboarding
- Sales presentations
- Employee training
- Technical support videos
- Knowledge-base articles
- Product launch videos
- Internal process documentation
A capable tool can also allow you to record only the application window or a selected portion of the screen. This prevents unrelated desktop elements from distracting viewers.
The linked Screen Recorder Software solution supports options such as full-screen, selected-region, and multi-screen recording, along with webcam and audio recording.
Step 1: Define the Purpose of Your Walkthrough
Before launching your Screen Recorder Software, determine exactly what you want the viewer to learn.
Start by answering three questions:
- Who is watching the video?
- What problem are they trying to solve?
- What should they be able to accomplish after watching?
For example, if the video is intended for new customers, the goal could be: "Show new users how to create their first backup."
If it is intended for prospects, the objective could be: "Demonstrate how the software can recover deleted files in a few simple steps."
Having one clear objective prevents the walkthrough from becoming a long tour of unrelated features.
Step 2: Choose One Workflow
One of the most common mistakes is trying to explain an entire product in one video. This usually produces lengthy recordings containing unnecessary menus, settings, and features.
Instead, choose one workflow that delivers a meaningful result.
For example:
Weak approach:
"Complete guide to our software."
Better approach:
"How to Create Your First Project in Three Steps."
Weak approach:
"Everything You Can Do With Our Video Editor."
Better approach:
"How to Remove Unwanted Sections From a Video."
A focused workflow gives the viewer a clear beginning, middle, and end. It also makes future updates easier because you can replace an individual walkthrough when the interface changes rather than recreating an entire product video.
Step 3: Prepare a Clean Recording Environment
Your recording environment can significantly affect the quality of the final walkthrough.
Before pressing the Record button:
- Close unnecessary applications.
- Close unrelated browser tabs.
- Disable desktop notifications.
- Hide confidential or personal information.
- Open the exact application or webpage you need.
- Prepare sample data in advance.
- Set your display resolution appropriately.
- Check your microphone.
- Decide whether a webcam is necessary.
A clean demonstration environment helps viewers concentrate on the product instead of unrelated desktop elements. If possible, use fictional or demonstration data rather than exposing customer information.
If you are recording a cloud application, consider creating a dedicated demo account or browser profile. This reduces the risk of accidentally displaying bookmarks, personal accounts, notifications, or saved information.
Step 4: Write a Simple Script
You do not necessarily need a word-for-word script, but you should know what you are going to say before recording.
A basic product walkthrough script can contain four sections:
Introduction
Briefly explain what the viewer will learn.
For example:
"In this video, we'll show you how to create and export a project using the application."
Problem
Explain why the workflow matters.
"For users managing multiple projects, manually tracking each task can be time-consuming."
Demonstration
Show the actual steps while explaining what you are doing and why.
Step 5: Configure Your Screen Recorder Software
Once the workflow is ready, open your Screen Recorder Software and configure the recording settings.
Depending on your requirements, you may choose:
- Full-screen recording
- Selected-area recording
- Application-window recording
- Webcam recording
- System audio
- Microphone audio
- Screen and webcam simultaneously
- Multiple-monitor recording
For most product walkthroughs, recording only the relevant application or browser window can produce a cleaner result than capturing the entire desktop.
The Screen Recorder Software page also highlights webcam recording, microphone and system audio capture, selected-region recording, multi-screen recording, scheduled recording, and editing capabilities.
Step 6: Record a Short Test
Before recording the complete walkthrough, create a short test clip.
Record approximately 20 to 30 seconds and check:
- Is the application interface readable?
- Is the cursor visible?
- Is the narration clear?
- Is the system audio too loud?
- Is there background noise?
- Does the recording capture the correct screen?
- Is the video resolution suitable for the destination?
This small test can prevent you from discovering a microphone or screen-capture problem after completing a 10-minute recording.
Step 7: Record the Product Walkthrough
Now start the actual recording.
Begin with a short introduction instead of immediately clicking through the interface. Tell viewers what they are going to accomplish.
During the demonstration, move the cursor deliberately. Avoid rapidly moving between buttons or opening unnecessary menus.
For important actions, pause briefly so viewers can understand what has happened.
For example:
"Select Settings from the left navigation panel. From here, choose Backup Preferences."
Instead of:
"Click here, then here, then this option."
The first version explains the interface and creates context. The second simply describes mouse movements.
If your Screen Recorder Software supports webcam recording, you can optionally include a small webcam overlay. This can make sales demonstrations and training videos feel more personal, while a screen-only recording may be better for technical tutorials where the interface needs maximum visual space.
Step 8: Use Visual Emphasis to Guide Attention
Software interfaces can contain numerous buttons, panels, icons, and menus. Viewers may not immediately know where to look.
Use visual emphasis when necessary.
Depending on the capabilities of your recording and editing software, you can use:
- Cursor highlighting
- Zoom effects
- Annotations
- Text labels
- Arrows
- Callouts
- Cropping
- Highlighted areas
However, avoid adding too many effects. The purpose of these elements is to direct attention, not decorate the video.
For example, if you are explaining a "Start Scan" button, a subtle zoom or cursor highlight can make the action easier to follow.
Step 9: Edit the Recording
Your first recording does not have to be perfect. Editing is where you remove unnecessary portions and improve the pacing.
Start by removing:
- Long pauses
- Mistakes
- Repeated explanations
- Loading delays
- Unnecessary navigation
- Failed attempts
- Accidental clicks
- Silence at the beginning and end
The difference between a raw screen recording and an effective walkthrough often comes from editing, narration, captions, and visual emphasis.
If your Screen Recorder Software includes built-in editing functionality, you can trim or refine the recording without moving the footage into a separate application. The linked product page describes built-in editing capabilities alongside screen and audio recording.
Step 10: Improve Audio Quality
Good visuals cannot compensate for poor narration.
Record in a relatively quiet environment and keep the microphone at a consistent distance. Speak clearly and avoid rushing through instructions.
You can also record the screen and narration separately when your workflow allows it. This provides more flexibility because you can modify the narration without repeating the entire screen recording.
If your software supports system and microphone audio recording, configure the appropriate sources before starting. Some recording tools also provide audio-enhancement features such as noise reduction.
Step 11: Add Captions and Supporting Text
Captions can make product walkthroughs easier to follow, particularly when viewers watch without sound.
Keep on-screen text short. Instead of displaying a complete paragraph, use concise labels such as:
Step 1: Open Settings
Step 2: Select Backup
Step 3: Choose a Destination
Captions can also make technical terminology easier to understand and improve accessibility for different audiences.
Step 12: Export the Video for Its Intended Platform
Think about where the finished walkthrough will be published before choosing the final export settings.
A website tutorial may require a different presentation from a social-media video or internal training recording.
For a typical software walkthrough, prioritize:
- Clear screen text
- Consistent resolution
- Readable interface elements
- Good audio
- Reasonable file size
- Compatible video format
Do not compress the video excessively if doing so makes buttons, menus, or text difficult to read.
Best Practices for Professional Product Walkthrough Videos
Keep the Introduction Short
Viewers should understand the purpose of the video quickly. Avoid long company introductions before demonstrating the product.
Focus on Benefits
Do not only explain where a feature is located. Explain what it helps the viewer accomplish.
Maintain a Consistent Pace
Move slowly enough for viewers to follow the interface but avoid unnecessary pauses.
Keep One Objective Per Video
If a workflow becomes too long, divide it into multiple videos.
Use Realistic Examples
Demonstrating a realistic task helps viewers understand how the product can fit into their own workflow.
Review Before Publishing
Watch the final video from the viewer's perspective. Check whether every step is understandable without additional explanation.
Common Mistakes to Avoid
Several mistakes can reduce the effectiveness of a product walkthrough.
Recording without preparation: Improvised recordings often contain unnecessary navigation and mistakes.
Showing too much: Demonstrating every feature can overwhelm viewers.
Poor audio: Background noise or unclear narration can make an otherwise excellent video difficult to follow.
Moving the cursor too quickly: Viewers may lose track of the action.
Ignoring editing: Raw recordings frequently contain dead air and unnecessary sections.
Exposing sensitive information: Always check the screen for customer details, passwords, email addresses, notifications, or other confidential information.
Overusing effects: Excessive zooms, animations, or annotations can distract viewers from the product.
Final Thoughts
Creating a product walkthrough does not have to be a complicated video-production project. With the right Screen Recorder Software, you can capture the product interface, record narration and system audio, optionally include a webcam, edit unnecessary sections, and produce a professional video suitable for customers, prospects, employees, or online audiences.
The most important factor is not the number of features you demonstrate. Focus on one audience, one problem, and one clear outcome. Prepare the workflow, record deliberately, guide the viewer's attention, remove unnecessary footage, and review the finished video before publishing.
For users looking for an all-in-one recording solution, the Screen Recorder Software page provides options for screen, webcam, and audio recording along with editing and flexible capture modes.
A well-planned walkthrough can turn a complex software workflow into a simple visual experience that viewers can understand, pause, replay, and follow at their own pace.
Frequently Asked Questions5 FAQs
Quick answers to common questions about this topic
Start by selecting one audience, one workflow, and one outcome. Prepare the application interface, write a short script, record the screen and narration using Screen Recorder Software, edit mistakes and pauses, and add captions or visual emphasis where necessary.
Yes. Screen Recorder Software can be configured to capture the screen along with microphone audio. Depending on the tool and settings, you may also be able to capture system audio and webcam footage simultaneously.
A webcam is optional. It can make sales demonstrations, onboarding sessions, and training videos feel more personal. However, for highly technical walkthroughs, screen-only recording may provide more space for the software interface.
There is no universal duration. The video should be long enough to complete the selected workflow without unnecessary information. If one workflow requires several unrelated steps, consider splitting it into shorter, task-specific videos.
Prepare a clean recording environment, use a clear microphone, record at an appropriate resolution, move the cursor deliberately, explain why each important step matters, remove mistakes and dead air during editing, and use captions or visual highlights to guide attention. The quality of the structure and clarity generally matter more than adding complicated visual effects.