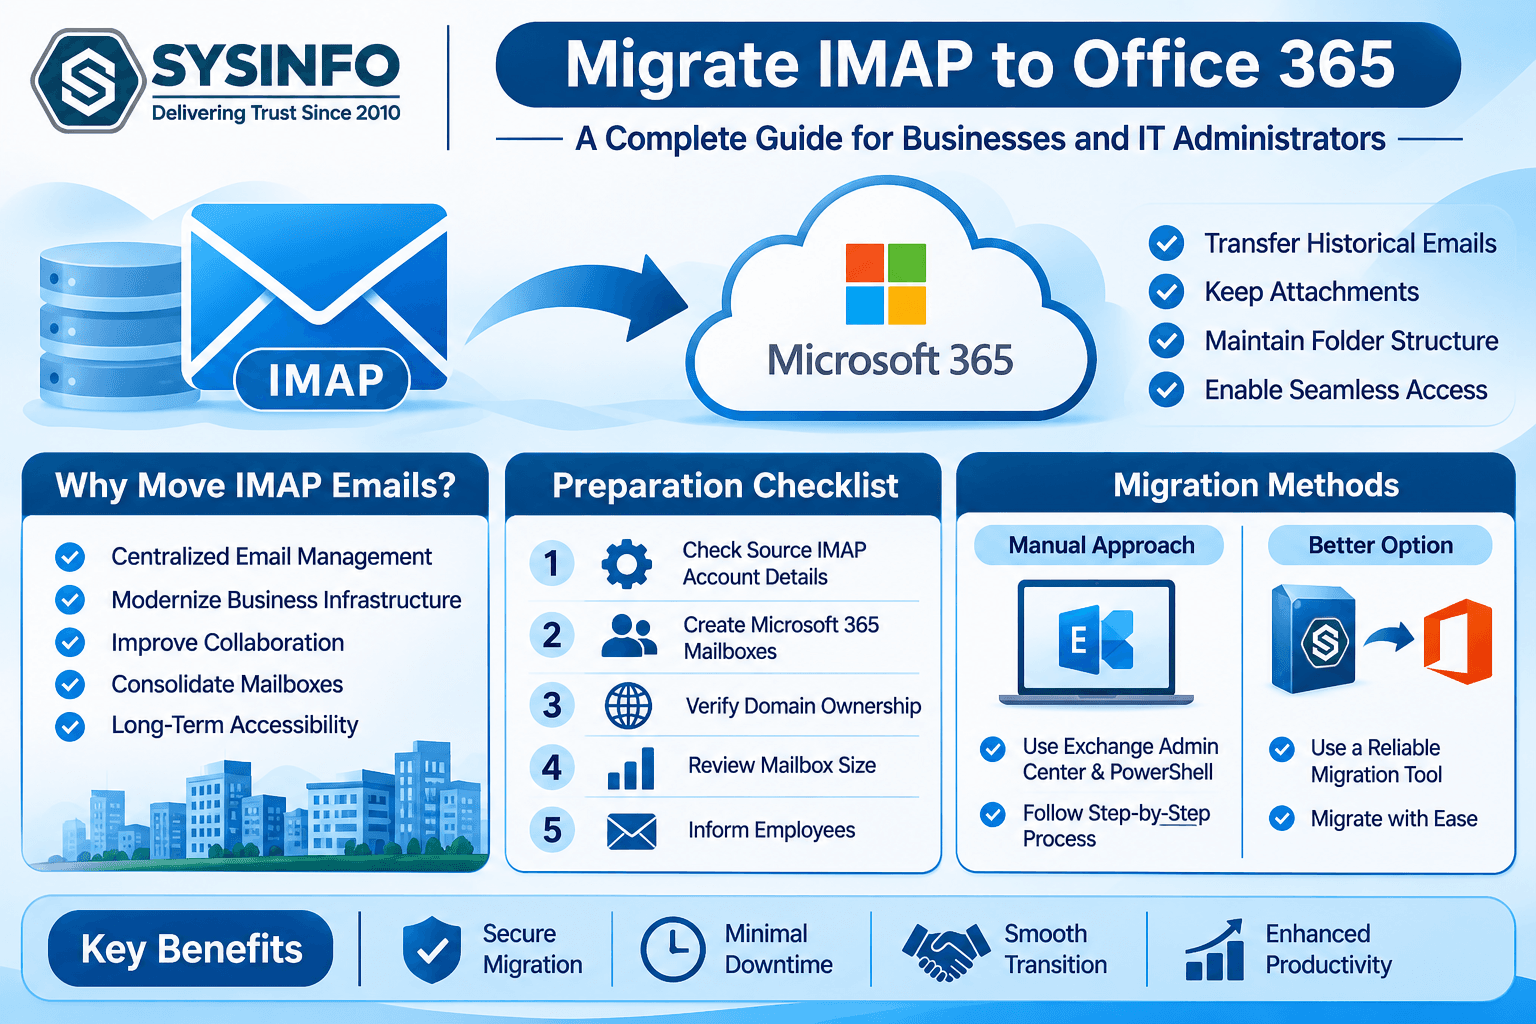
Moving an existing email environment to Microsoft 365 involves more than creating new user accounts. Organizations must transfer historical messages, retain important attachments, prepare destination mailboxes, and ensure employees can continue accessing their communication records after the transition.
Businesses using IMAP-based email services often choose Microsoft 365 to centralize email management and work within Microsoft's cloud ecosystem. However, the migration process can become complicated when multiple accounts, large mailboxes, and different source providers are involved.
A structured migration plan helps IT administrators reduce interruptions and identify potential problems before transferring business-critical email data.
What Does IMAP to Office 365 Migration Mean?
IMAP, or Internet Message Access Protocol, allows users to access and synchronize email stored on a mail server. It is supported by many hosting providers and email platforms, making it a common protocol for business communication.
Office 365, now commonly referred to as Microsoft 365, provides cloud-based email through Exchange Online. Migrating IMAP to Office 365 means transferring eligible messages from existing IMAP mailboxes into corresponding Microsoft 365 mailboxes.
During this process, organizations may need to preserve:
Inbox and Sent folder messages
Custom folders and subfolders
Email attachments
Sender and recipient information
Message dates and subjects
Important historical correspondence
One important limitation is that Microsoft's native IMAP migration transfers email messages rather than an entire mailbox environment. Contacts, calendars, and tasks require separate migration methods
Why Do Businesses Move IMAP Emails to Office 365?
Organizations migrate email platforms for different operational and administrative reasons. A company may replace an older hosting provider, consolidate employee accounts, or move its communication infrastructure to a centralized cloud environment.
Some common reasons include:
Centralized email management: Microsoft 365 allows organizations to manage Exchange Online mailboxes through a common administrative environment.
Business infrastructure modernization: Companies replacing traditional hosting services may prefer a cloud-based email platform that fits their existing Microsoft applications.
Improved collaboration: Microsoft 365 provides access to services such as Outlook, Teams, OneDrive, and SharePoint, depending on the organization's subscription.
Mailbox consolidation: Businesses managing email across different hosting providers can move eligible accounts into a common Microsoft 365 tenant.
Long-term email accessibility: Migrating historical messages helps employees continue referencing earlier conversations after the organization changes its email platform.
Things to Prepare Before Migrating IMAP to Office 365
Preparation is essential, particularly when multiple employee accounts are involved. Before beginning the transfer, administrators should review the source environment and confirm that the destination is ready.
1. Check Source IMAP Account Details
Collect the login information for every source mailbox. Administrators should verify the email address, username, password, IMAP server address, port number, and encryption settings.
The source server must allow IMAP connections. If the provider requires an app password or additional authentication, those requirements should be addressed before migration.
2. Create Microsoft 365 Mailboxes
Create the destination user accounts in the Microsoft 365 tenant and assign the appropriate Exchange Online licenses. Each destination mailbox should be provisioned before using Microsoft's native IMAP migration process.
3. Verify Domain Ownership
If the organization plans to use its existing business domain with Microsoft 365, verify domain ownership through the domain registrar and prepare the necessary DNS changes.
4. Review Mailbox Size and Message Volume
Check how much data each account contains and identify mailboxes with large attachments or extensive folder structures. This information helps administrators estimate the migration workload and divide accounts into manageable batches.
5. Inform Employees
Employees should know when the migration will take place, whether they need to change their login details, and when they should start using their Microsoft 365 mailboxes.
Method 1: Migrate IMAP Emails to Office 365 Manually
Microsoft provides native IMAP migration capabilities through the Exchange admin center and Exchange Online PowerShell. This approach is useful when administrators want to migrate eligible email data using Microsoft's built-in services.
The general procedure involves preparing destination mailboxes, creating a CSV file, configuring a migration endpoint, and starting a migration batch.
Step 1: Create Destination Mailboxes
Sign in to the Microsoft 365 admin center and create the user accounts that will receive the migrated email. Assign the required Exchange Online licenses and verify that each mailbox is active.
Step 2: Prepare the Source IMAP Server
Collect the source server details, including its hostname, port, and security settings. Confirm that the server is reachable and that the required accounts can authenticate successfully.
Step 3: Create a CSV File
Microsoft's native IMAP migration requires a CSV file containing the information needed to access each source mailbox.
The standard CSV structure includes these columns:
EmailAddress,UserName,Password user1@company.com,user1@source.com,Password1 user2@company.com,user2@source.com,Password2
Each row represents one mailbox. The header names must use Microsoft's required spelling and format. Protect this file carefully because it contains account credentials.
Step 4: Configure a Migration Endpoint
Open the Exchange admin center and navigate to the migration section. Create a new migration endpoint for the source IMAP server.
Provide the server hostname, port, and appropriate encryption settings. Test the connection before proceeding to the migration batch.
Step 5: Create and Start a Migration Batch
Select the IMAP migration option, upload the prepared CSV file, and associate it with the migration endpoint.
Review the account mapping and start the migration batch. Administrators can monitor its progress through the Exchange admin center.
Step 6: Verify Migrated Emails
After the batch completes, inspect the destination mailboxes. Check sample messages, attachments, folders, and message dates. Review skipped or failed items and investigate any discrepancies.
Step 7: Update Mail Routing
Once the organization has verified the migrated data and is ready to receive new email through Microsoft 365, update the domain's MX record to point to the appropriate Microsoft 365 mail service.
Confirm that incoming messages are reaching the new mailboxes before stopping the migration process.
Limitations of the Manual IMAP Migration Method
Although Microsoft's native migration method is useful, administrators should understand its limitations before choosing it for a large project.
Email data only: Contacts, calendar entries, and tasks are not transferred through standard IMAP migration.
Message count restriction: Microsoft's documented native IMAP migration supports a maximum of 500,000 items per mailbox.
Message size restriction: The documented maximum message size for this migration method is 35 MB.
Credential management: The CSV file requires source mailbox login information or supported administrator credentials.
Technical preparation: Administrators need to configure endpoints, CSV files, and migration batches correctly.
Server connection limits: Source IMAP servers may restrict simultaneous connections, affecting migration performance.
These restrictions should be reviewed against the organization's mailbox requirements before scheduling a migration.
Method 2: Migrate IMAP to Office 365 Using a Dedicated Tool
Organizations managing multiple mailboxes may prefer a dedicated migration utility when they need a guided workflow, selective migration, or additional processing options.
The SysInfo IMAP Backup Tool provides an option to migrate email from supported IMAP accounts to Office 365. It offers a graphical workflow that allows users to connect to the source mailbox, select folders, configure the destination, and apply available filters.
Steps to Migrate IMAP Emails Using the Tool
Step 1: Install and Launch the Software
Download and install the utility on a compatible Windows or macOS system. Open the application to begin the migration process.
Step 2: Enter Source IMAP Details
Provide the source email address, password, IMAP host, and port information. Complete the login process to connect to the mailbox.
Step 3: Select Mailbox Folders
After the connection is established, the application displays the available mailbox folders. Expand the folder tree and select the messages or folders required for migration.
Step 4: Choose Office 365 as the Destination
Select Office 365 from the available email client or destination options. Enter the required Microsoft 365 account details and complete the authentication process.
Step 5: Apply Filters
Configure the available filters according to the migration requirements. Users can select specific email data rather than transferring every message in the mailbox.
Step 6: Start the Migration
Review the selected source folders and destination settings. Start the process and monitor the migration until it finishes.
Step 7: Verify the Destination Mailbox
Sign in to the destination account and check the migrated folders, messages, and attachments. Review the available reports to identify items that may need additional attention.
The software also offers batch processing through CSV-based account entry, folder selection, date filters, duplicate removal, and export options for formats such as PST, MBOX, EML, MSG, PDF, JSON, DOC, DOCX, and CSV. These options can help users manage different mailbox migration and archiving requirements.
Best Practices for a Successful IMAP to Office 365 Migration
A successful migration depends on planning, testing, and verification. The following practices can help IT teams manage the process more effectively.
Run a Pilot Migration
Start with a small number of non-critical mailboxes. This helps administrators test authentication, folder mapping, migration speed, and destination mailbox behavior before processing the remaining accounts.
Microsoft also recommends test migration batches to verify CSV formatting, endpoint connectivity, and the number of simultaneous connections suitable for the source server.
Divide Large Projects into Smaller Batches
Avoid moving every employee account at the same time without assessing the source server's capacity. Group mailboxes according to department, size, or business priority.
Smaller batches make it easier to monitor progress and investigate failed accounts. Microsoft also recommends dividing large migrations into manageable batches.
Keep a Source Data Backup
Maintain an independent copy of important mailbox data before beginning the migration. This provides an additional recovery option if an account becomes inaccessible or a transfer requires further investigation.
Plan the DNS Cutover
Changing MX records too early can disrupt incoming email delivery. Complete the initial migration, verify the destination, and coordinate the DNS cutover with the organization's email administrators.
Check Attachments and Folder Organization
Do not rely only on the total number of transferred messages. Open sample emails with attachments, inspect custom folders, and verify important historical conversations.
Review Migration Reports
Check the status of each account and investigate failed, skipped, or incomplete items. Maintain a record of which mailboxes have been successfully migrated and which require additional processing.
Common Problems During IMAP to Office 365 Migration
Authentication errors: Incorrect passwords, disabled IMAP access, or unsupported login methods may prevent source connections. Verify the account settings and authentication requirements.
Missing attachments: Large messages or unsupported source conditions may prevent some items from migrating. Check message-size restrictions and review the destination mailbox.
Incomplete folder transfers: Folder permissions, unusual folder names, or source-server differences may affect folder mapping. Test representative folders before processing all accounts.
Slow migration speed: Large mailboxes, limited network bandwidth, and source-server connection restrictions can increase processing time. Adjust batch sizes and connection settings carefully.
Duplicate emails: Repeated migration attempts or overlapping source data can create duplicate records. Review available duplicate-handling options and verify the destination before running additional transfers.
Calendar and contact data missing: Standard IMAP migration does not transfer contacts, calendars, or tasks. Plan separate procedures for these data types.
Final Thoughts
Migrating IMAP emails to Office 365 requires careful preparation of source accounts, destination mailboxes, authentication settings, and migration schedules. Microsoft's native migration method provides a built-in approach for eligible email transfers, while dedicated migration software can offer additional options for batch processing, selective transfers, and mailbox management.
Regardless of the method selected, administrators should test the process, retain a backup of important source data, verify migrated attachments and folders, and coordinate the final email-routing changes. A well-planned migration helps businesses move their email infrastructure to Microsoft 365 while maintaining access to essential communication records.