Key Takeaways
- A dependable stream starts with matching the setup to the content type.
- Clear, consistent audio is often more important than a premium camera.
- Bitrate, upload capacity, and computer performance must be planned together.
- Simple scenes reduce mistakes during a live broadcast.
- Short test recordings expose many problems before viewers see them.
Whether you are broadcasting gameplay, a local discussion, a tutorial, or a community event from Rockhampton, a reliable live stream is built through planning rather than an oversized equipment list. This streaming & OBS setup overview can help clarify the practical components involved before you begin configuring cameras, microphones, screens, and software.
Rockhampton creators may work from a home office, a gaming room, a club space, or a temporary event location, so a setup should be easy to operate in the environment where it will actually be used. The best starting point is a stable, repeatable workflow that produces understandable audio, clear video, and dependable connection quality.
Start With The Type Of Content
Start by deciding what viewers will see and hear before you buy or connect any equipment, and consider bringing in IT consulting if the setup feels complicated. A gameplay stream may require a game capture device, a camera, and a chat display. A tutorial may work best with a screen share and a close microphone. Interviews often call for separate microphones, while an event may need longer cable runs, wider camera framing, and someone assigned to monitor the stream.
A single camera and one microphone can be enough for a new creator. Add complexity only when it improves the audience experience. For example, a second camera makes sense when it shows a demonstration or another speaker, not simply because it is available.
When the stream is part of a broader workplace, club, or event technology plan, network capacity, device roles, backup options, and practical operating procedures should be considered before finalizing the broadcast setup.
Choose A Balanced Equipment Setup
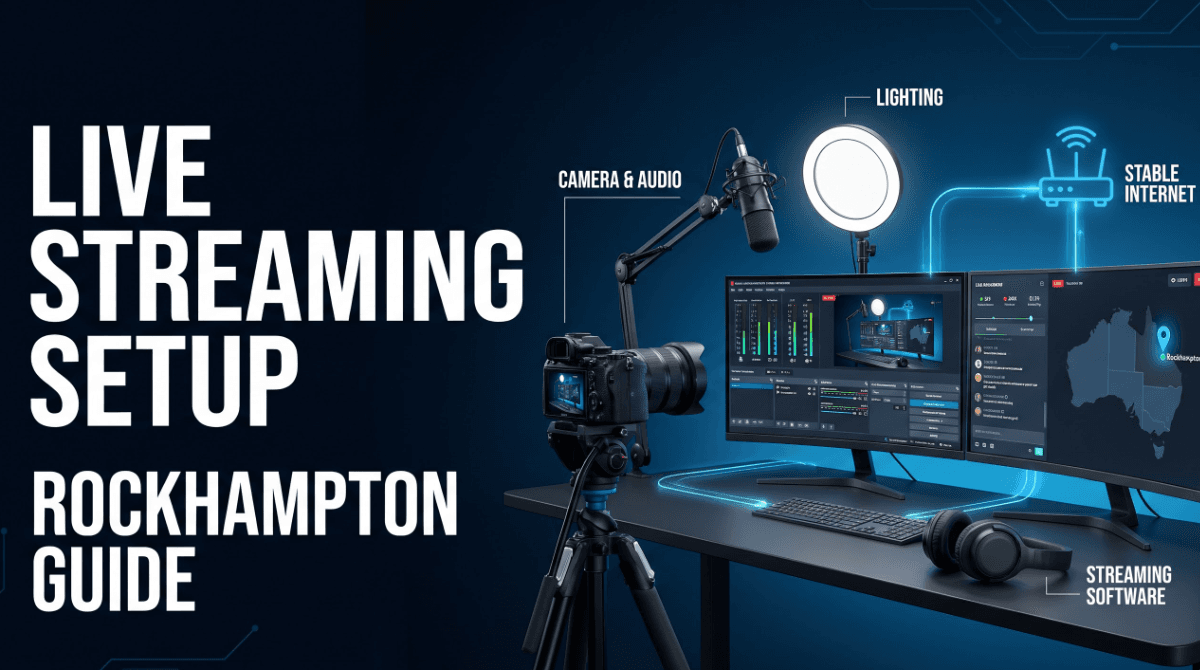
A basic streaming system usually includes a computer or console, a camera, a microphone, headphones, lighting, and an internet connection. A capture card is useful when bringing video from a console or another external device into a computer. Avoid allocating the entire budget to a single component. A sharp camera cannot compensate for echo in the audio, poor lighting, or an overloaded computer.
Give Audio Priority
Viewers can tolerate an ordinary image more easily than difficult sound. Keep the microphone near enough to capture a strong voice level without sitting directly in front of the camera. USB microphones are straightforward because they connect directly to a computer. XLR microphones generally require additional equipment, but can offer more flexibility in multi-person setups.
Reduce room noise before relying on software filters. Close windows where possible, turn off noisy fans nearby, use headphones instead of speakers, and add soft furnishings to reduce obvious reflections. Noise suppression, compression, and a limiter can help manage sound, but they work best after the source is reasonably clean.
Set Up Video Without Overcomplicating It
Resolution describes image detail, while frame rate describes how many frames are shown each second. A 720p stream can be a sensible choice when connection capacity or hardware is limited. For many talking-head, tutorial, and gameplay broadcasts, 1080p is a practical target when the computer and upload connection can maintain it steadily.
Place the camera close to eye level and leave enough space around the subject to avoid cramped framing. Put the strongest light in front of and slightly to one side of the face. A bright window or lamp behind the subject can make the face look dark. Software such as OBS Studio combines video, audio, scenes, and sources into one broadcast layout.
Build A Clean Scene Layout
Scenes make it easier to control what viewers see without having to rebuild the layout during a live broadcast. Start with a small set:
- A starting scene for the few minutes before the broadcast begins.
- A main content scene for gameplay, a presentation, or the primary camera.
- A talking scene for direct updates or discussion.
- A short break scene.
- An ending scene that clearly signals the broadcast is finished.
Use text, overlays, alerts, and browser-based elements only when they serve a purpose. Important gameplay, slides, demonstrations, and faces should remain visible. Readable type, strong contrast, and restrained transitions usually create a clearer experience than a crowded screen.
Match Bitrate To Your Connection
Bitrate is the amount of data sent per second in a stream. Higher resolution and faster movement generally require more bitrate to retain detail. Test your upload speed at the times you expect to go live, then leave capacity unused for other household or venue activity. A wired Ethernet connection is generally more predictable than Wi-Fi when it is practical.
Use these as planning ranges, then adjust after testing:
- Conversation or simple presentation: 720p at 30 frames per second, roughly 1,500 to 3,000 Kbps, with meaningful unused upload capacity.
- General gameplay or tutorials: 1080p at 30 frames per second, roughly 3,000 to 6,000 Kbps, depending on platform limits and image movement.
- Fast gameplay: 1080p at 60 frames per second, often requiring a higher bitrate and more headroom than slower content.
Tune Software And Hardware Together
An encoder compresses video into a format suitable for streaming. Software encoding uses the processor, while hardware encoding uses compatible graphics hardware or dedicated video hardware. Running a demanding game, high-resolution camera, multiple browser sources, and a stream at once can increase system load. During tests, watch for high CPU or GPU use, missed frames, and dropped frames. Lowering output settings is often preferable to forcing unstable quality.
Test Before Going Live
Run a short private test or local recording before every important stream. Restart a computer that has been running for a long period, confirm the correct microphone and camera are selected, and listen through headphones. Check for clipping, echo, delays, black screens, missing alerts, and accidental visibility of stream keys or account details.
Fix Common Problems Quickly
Blurry Video Or Dropped Frames
Lower the bitrate or output resolution if the connection cannot sustain the current settings. Fast movement, poor lighting, Wi-Fi congestion, and excessive computer load can also make video look worse or cause frames to drop.
Quiet, Distorted, Or Echoing Audio
Check microphone distance, input selection, and gain. Distortion can occur when the level is too high. Echo commonly comes from duplicate audio sources, open speakers, or incorrect monitoring settings.
Frozen Camera
Reseat the cables, try another USB port, close other programs that use the camera, and check whether the device is receiving enough power. Before replacing hardware, compare independent webcam testing advice with the actual needs of your stream.
Plan Upgrades Carefully
Add a second monitor when managing chat, scenes, and content on one display becomes difficult. Improve the weakest part of the setup first, whether that is lighting, microphone quality, upload stability, or computer performance. Consistent preparation and clean audio can make a meaningful difference without frequent purchases.
Final Pre-Stream Checklist
- Test the internet connection and confirm that there is sufficient upload headroom.
- Check microphone levels, headphones, camera framing, and lighting.
- Load scenes and test alerts, transitions, and screen sources.
- Confirm the title, privacy settings, and destination account.
- Review a short recording and keep water and spare cables nearby.
A smooth live stream in Rockhampton comes from balanced equipment, measured settings, and a routine that is simple enough to follow under pressure. Start small, test each part, and improve only where the audience experience clearly benefits.